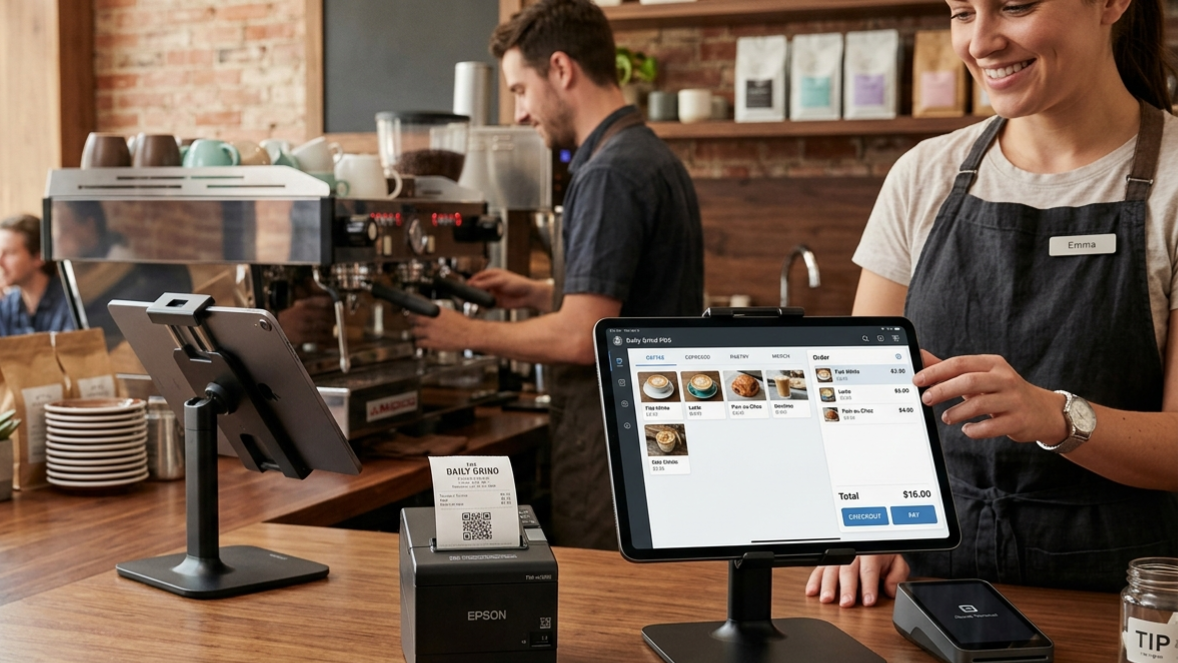
Most restaurant owners assume that setting up a point-of-sale system requires a technician, a pile of cables, and a half-day blocked in the calendar. With a cloud POS, none of that is true. This cloud POS setup guide walks you through exactly how RovaSolution gets you running with two tablets and a receipt printer — start to finish in under 15 minutes.
What You Actually Need
Forget the traditional POS hardware checklist. For a fully functional cloud-based setup you need three things:
Tablet #1
Front-of-house ordering — staff takes orders at the table or counter.
Tablet #2
Kitchen display or manager dashboard — monitor orders in real time.
Receipt Printer
Any Wi-Fi thermal printer. Prints kitchen tickets and customer receipts automatically.
That's it. No local server, no proprietary terminal, no annual hardware contract. Everything else lives in the cloud.
Step-by-Step Cloud POS Setup Guide
Here's how the RovaSolution setup actually works — and why it's genuinely one of the fastest in the market.
Connect Tablet #1 to Wi-Fi
Go to your tablet's Wi-Fi settings and join your restaurant's network. A stable connection is all that's required — no special network configuration, no static IP, no firewall rules to open.
Open the POS URL
Launch your browser, enter the RovaSolution POS URL provided during onboarding, and log in. Your entire menu, pricing, and settings are already loaded from the cloud — nothing to install, nothing to sync manually. Bookmark the URL or add it to the home screen for one-tap access.
Repeat for Tablet #2
Connect the second tablet to the same Wi-Fi network and open the same POS URL. You can assign it a different role — kitchen display, cashier view, or manager overview — directly from the settings panel. Both tablets stay in sync automatically; an order placed on one is instantly visible on the other.
Connect the Printer to Wi-Fi
Most modern thermal printers have a built-in Wi-Fi setup wizard accessible by holding the feed button on boot. Join the same network as your tablets. Once the printer is online, RovaSolution detects it automatically — no driver installation, no USB cables, no COM port configuration. Print a test receipt and you're done.
Cloud POS vs Traditional POS: What's Actually Different?
Traditional POS systems were built around on-premise servers and proprietary hardware. Cloud POS flips that model entirely. Here's what that means in practice:
| Feature | RovaSolution (Cloud) | Traditional POS |
|---|---|---|
| Setup time | ~10 minutes | Hours to days |
| Hardware required | Any tablet + Wi-Fi printer | Proprietary terminals |
| Software updates | Automatic, always current | Manual, often paid |
| Access from anywhere | Yes — any browser | On-site only |
| IT support needed | No | Usually yes |
| Upfront cost | Low | High |
| Real-time sync | Instant across all devices | Limited or manual |
Common Questions About Cloud POS Setup
Who Is This Setup Best For?
This two-tablet cloud POS setup is ideal for:
New F&B businesses — get operational immediately without large upfront hardware investment. Cafés and bubble tea shops — fast counter-service environments where speed of setup and order processing matters. Pop-ups and food stalls — carry your entire POS in a bag and be live anywhere with Wi-Fi. Existing restaurants switching from legacy systems — no downtime migration; run both systems in parallel until you're ready to cut over.
Ready to Go Live?
The reality of a cloud POS setup guide in 2025 is simpler than most people expect: connect your tablets to Wi-Fi, open a URL, connect your printer to the same network, and you're trading. No cables running across the floor. No waiting for a technician. No paying for hardware you don't need.
RovaSolution was built specifically for F&B businesses that want modern, reliable technology without the complexity. If you're ready to see it in action, get in touch with the team — setup support is included, and most restaurants are live the same day.
Set up your cloud POS today
2 tablets. 1 printer. Under 15 minutes. RovaSolution handles the rest.
Talk to the Team